
You took the screenshot, now you just need to trim it to the part that matters. The fastest way is a free app called Paint Vlix, and there are a couple of built-in Mac methods too. Here is each one.
The quick answer: the simplest way is the free Paint Vlix app: open the screenshot, drag a crop box, and export. Prefer built-in tools? Open the image in Preview, drag a rectangular selection, and press ⌘K, or capture only the region you need with Shift‑⌘‑4. 
The easiest way: crop it in Paint Vlix (free)
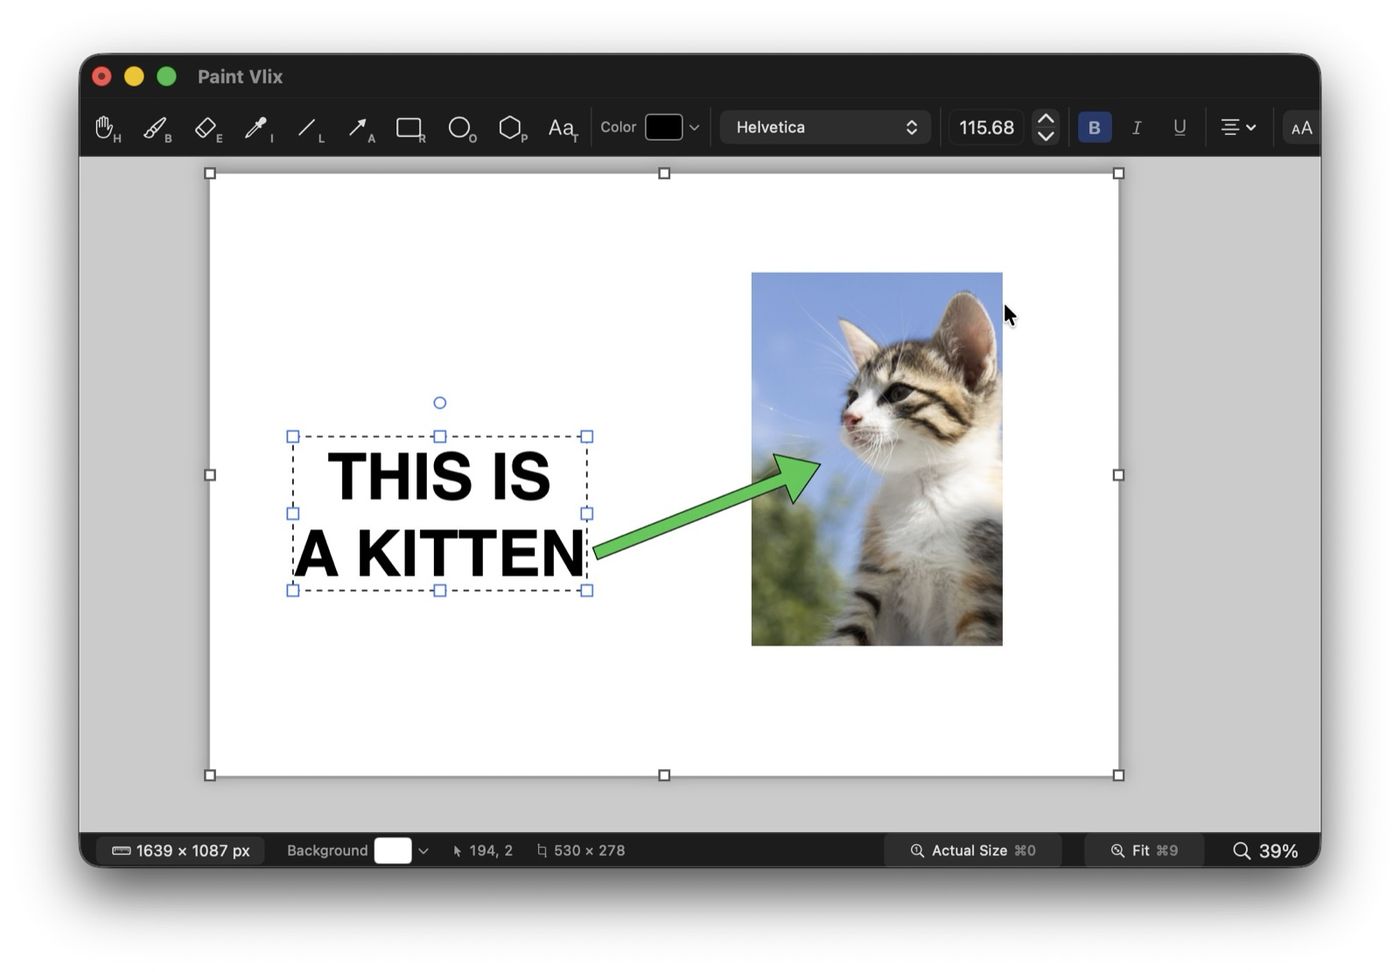
Paint Vlix is a free Mac app built natively in Swift, so it opens instantly. Cropping is a single drag, and there is nothing to sign up for. The whole thing looks like this:
- Open the screenshot in Paint Vlix, or paste it straight from the clipboard.
- Choose the crop tool and drag the box over the part you want to keep.
- Apply, then export as PNG or JPEG, or copy it to the clipboard and paste it wherever it was headed.
It is 100% free on the Mac App Store, with no in-app purchases, no subscription, and no account.
How to crop a screenshot on Mac with Preview
If you would rather not install anything, Preview is already on every Mac and crops in a few seconds once you know where the selection tool hides.
- Double-click the screenshot to open it in Preview.
- Click the Markup button in the toolbar (the pen tip inside a circle). If you do not see it, choose View › Show Markup Toolbar.
- Pick the rectangular selection tool at the far left of the Markup toolbar.
- Drag a box around the part you want to keep. Everything outside the box is what gets removed.
- Choose Tools › Crop, or just press ⌘K.
- Press ⌘S to save over the file, or File › Export to keep the original and save a copy.
One thing to watch: Preview saves straight over the original unless you export. If you might want the full screenshot back later, duplicate it first with File › Duplicate.
How to take a cropped screenshot on Mac in one step
Often the fastest crop is the one you never have to do, because you only captured the right area to begin with.
- Press Shift‑⌘‑4. The pointer becomes a crosshair.
- Drag to draw a box around exactly the area you want.
- Release. macOS captures only that region, so the file on your desktop is already cropped.
Prefer a toolbar with more control? Press Shift‑⌘‑5 instead. You get options for capturing a selected portion, a window, or the whole screen, plus where to save it.
How to screenshot and crop on Mac from the thumbnail
Right after you take any screenshot, a small thumbnail floats in the bottom-right corner for a few seconds. Click it before it disappears and the built-in editor opens with crop handles on the edges. Drag the handles inward to trim, then click Done. Handy for a quick trim, though the handles only crop, so the moment you also want an arrow or a resize you are better off in Paint Vlix.
Why Paint Vlix beats Preview for this
Now you have seen both. Preview can crop, but that is roughly where it stops. Paint Vlix crops just as fast and then keeps going, so the same free app handles the next thing you were going to do anyway:
- Add arrows, boxes, and text that stay editable objects, so a misplaced arrow is one drag from right instead of a redo.
- Draw freehand on the screenshot with a real pencil and brush, with unlimited undo.
- Resize the screenshot on a canvas you can see the image on a canvas you can see, then export at the size you need.
- Fix the screenshot's brightness, contrast and opacity with live brightness, contrast, and opacity.
- Rotate the screenshot to any angle, not just ninety degrees at a time.
- Export the screenshot anywhere: PNG or JPEG with adjustable quality, copy to the clipboard, or print.
In Preview, most of that is either missing or bakes into the pixels the moment you save. In Paint Vlix nothing is committed until you export, so you can crop, mark up, and change your mind freely.
| What you want to do | Paint Vlix | macOS Preview |
|---|---|---|
| Crop an image | ✔ | ✔ |
| Resize to an exact size | ✔ | Dialog box only |
| Arrows, boxes & text stay editable | ✔ | Baked in on save |
| Freehand pencil & brush | ✔ | Basic sketch only |
| Brightness, contrast & opacity | ✔ | Basic colour adjust |
| Rotate to any angle | ✔ | 90° steps only |
| Export PNG, JPEG, clipboard, print | ✔ | A few formats |
| Change your mind after reopening | ✔ | Changes are final |
| Opens instantly, native, free | ✔ | ✔ |
Bonus: crop to an exact size, ready for social media
There is a second way to crop in Paint Vlix that Preview cannot match: crop to a preset canvas size. Instead of freehand-dragging a box, you pick the size you need and drop the image onto it. Paint Vlix comes with ready-made sizes like 600 × 600, HD 720, and 800 × 600, plus the exact dimensions every major social platform asks for, so your crop comes out at the right size the first time. You can also type any custom width and height.
This is the quickest way to get an image that has to be an exact size, like a profile picture, a thumbnail, or a square post, without measuring anything yourself.
Which method should you use?
- The simplest crop, plus arrows, text, resize, or you do this often: Paint Vlix.
- An exact crop with save control and no install: Preview and ⌘K.
- For a quick one-off trim, capture the region directly instead. capture the region directly with Shift‑⌘‑4.